TERRAIN AND TEXTURES

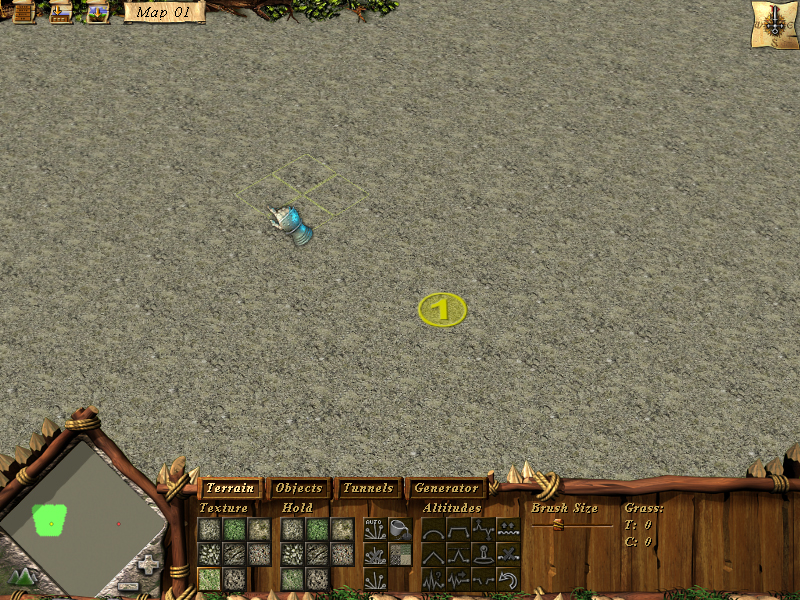
The next step after all parameters have been set is to shape the terrain. This is done by bending a basic, flat mesh and applying textures to it. There are few ways to create the terrain: manually, by using the Terrain Tab, or using the built in generators under the Generator Tab.


To give your map more realistic look, you can choose from the Supplements option a variety of small objects like bunches of flowers, stones, cracks etc that can be applied later onto a terrain surface.
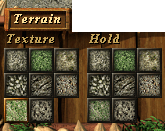
 

Textures can be applied in both ways, either manually using tools from the the Terrain Tab or automatically by clicking on Generate textures under the Generator Tab and choosing one of the listed terrains.


Random supplements
Deleting supplements
Supplements manual adding


Filling with a texture
Automatic filling of a texture – depending on how much the terrain is folded.


"Altitudes” are the group of tools necessary for free terrain modelling.
First, three vertically placed buttons are responsible for mesh smoothing and lifting. Using the following three buttons, you can lift a fragment of the terrain and level it with the highest or the lowest point on the map as well as adjusting any irregularities.

The next three are used for :1. enlarging differences between heights, 2. drawing with one height (holding Shift key you can pick up the height and then draw with it in chosen areas) 3.rifts- apply deep rifts onto a map. The last three are responsible for placing water onto a map:1.flooding with water, 2. holding Shift key we are able to lower the water level, 3.we can remove water from the map. Undo the last action.

Sets cursor size for terrain drawing and bending
Sets the intensity of modelling operations
It shows the amount of grass applied on to the entire map and also on the area pointed by the cursor.